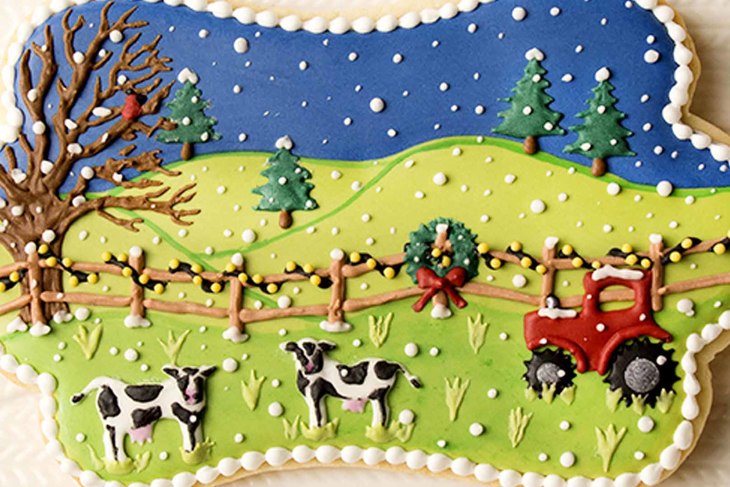
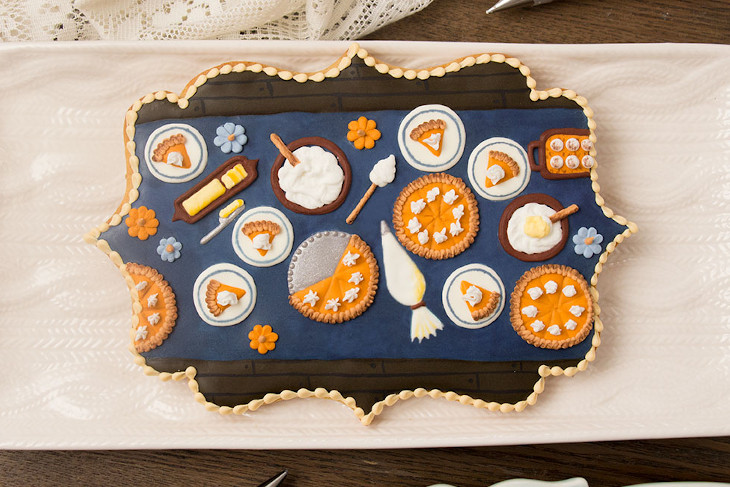
Farm Scene Cookie
Doesn’t this snowy farm scene cookie just make you want to curl up with a mug of hot cocoa? Of course, this cookie is made with REAL butter because it always makes for the perfect dough! Want to make your own? Follow the instructions and supplies below to make your own!
30 min Prep Time
0 min Cook Time
- Prep Time: 30 min
- Cook Time: 0 min
Ingredients
- 1 batch sugar cookies
- 1 batch royal icing
- Paring knife to cut cookies
- Plaque Cookie Cutter
- 15-second count royal icing in blue, light green, red, black, and dark green (test the consistency by taking a spoonful of icing out of the bowl and dropping it back in. It should take about 15 seconds for the icing to be completely smooth)
- Soft peak royal icing in white, brown, light brown, and yellow
- Stiff consistency royal icing in white
- 12” decorating bags
- Decorating tip numbers 1, 2, and 3
- Scriber needle or toothpick
- Edible silver pearl dust
- Vodka or any flavor extract to mix with food coloring to use as paint
- Decorator brushes
Instructions
Step 1
From a chilled sheet of cookie dough using the plaque cookie cutter as a guide, cut around the plaque with the paring knife to make the cookie ½” larger than the plaque all around. Bake and cool the cookies according to the recipe instructions.Step 2
Ice the top portion of the cookie with blue 15-second count consistency icing and a decorating tipStep 3
Use the scribe tool or toothpick to evenly distribute the icing.Step 4
Immediately fill in the lower portion of the cookie with light green flood consistency royal icing and a decorating tip 2 and use the scribe tool or toothpick to evenly distribute the icing. Allow the icing to dry about 6 hours.Step 5
Mix green food coloring with a few drops of vodka or any flavor extract to dilute. Apply the edible paint with a decorator brush.Step 6
Pipe tree trunks with brown soft peak icing and a tip 1. Pipe pine trees with dark green 15-second count icing and use the scribe tool or toothpick to help shape the icing.Step 7
Use the brown soft peak icing and a tip 1 to pipe a tree trunk and branches.Step 8
Pipe a fence with light brown soft peak icing and a tip 1.Step 9
Use the white soft peak icing and a tip 1 to pipe the cows and use the scribe tool or toothpick to help shape the icing.Step 10
Pipe a tractor and a cardinal in the tree with red 15-second count royal icing and a tip 1. Allow the icing to dry 30-60 minutes.Step 11
Pipe the first layer of a string of lights around the fence (the lights will be added later) with black 15-second count icing and a tip 1. Use the same icing to add tires to the tractor. Add treads to the tires with the scribe tool or toothpick.Step 12
Pipe a wreath hanging on the fence with dark green 15-second count icing and a tip 1. Use the scribe tool or toothpick to help shape the icing.Step 13
Add spots to the cows by dipping the scribe tool or toothpick into black 15-second count icing and applying it to the dry white icing.Step 14
Pipe grass with light green 15-second count icing and a tip 1. Use the scribe tool or toothpick to help shape the icing.Step 15
Add lights to the fence with yellow soft peak icing and a tip 1.Step 16
Pipe a bow on the wreath with red 15-second count icing and a tip 1. Use the scribe tool or toothpick to help shape the icing.Step 17
Paint the details of the tractor with a mixture of edible silver pearl dust and vodka or any flavor extract.Step 18
Pipe snow with soft peak icing and a tip 1.Step 19
Add a border with white stiff consistency icing and a tip 3.
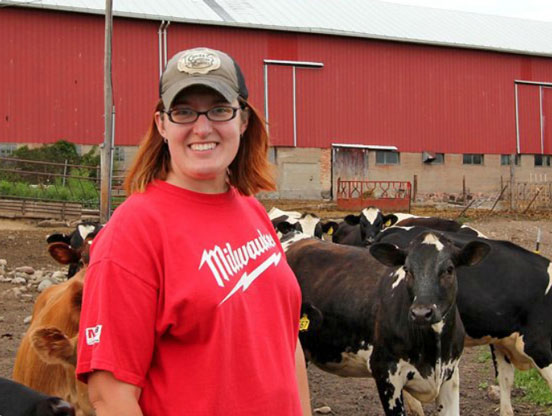
A Dairy Farmer’s Devotion to Feeding Others
Learn how a new farmer, just a decade into her career, approaches her day-to-day and commits herself to helping end hunger.Reviews & Tips
There are no reviews yet for this recipe. Be the first to write a review.
Write a Review