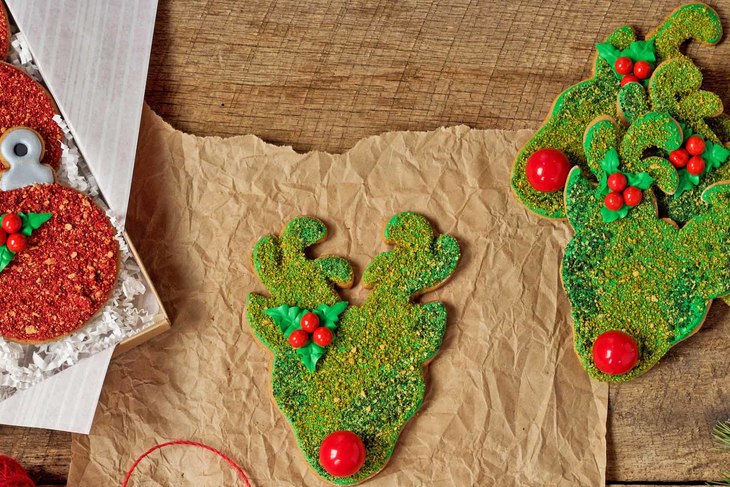
Gingerbread Deer Cookies
Decorating cookies is a holiday tradition we look forward to every year - and this year we have an entirely new idea to add to your collection. These gingerbread deer cookies from Lisa at The Bearfooted Baker are equal parts modern and rustic, and taste so, so good.
30 min Prep Time
10 min Cook Time
- Prep Time: 30 min
- Cook Time: 10 min
Ingredients
-
For the gingerbread cookies:
- 5 1/2 cups all-purpose flour
- 1/4 teaspoon salt
- 1/2 teaspoon baking soda
- 1 tablespoon ground ginger
- 1 1/2 teaspoon ground cloves
- 2 teaspoons cinnamon
- 1 teaspoon nutmeg
- 1 cup (2 sticks) unsalted butter, softened
- 1 cup light brown sugar, lightly packed
- 2 eggs
- 2 teaspoons pure vanilla extract
- 3/4 cup molasses
-
For the royal icing:
- 4 1/4 cups confectioners’ sugar
- 6 tablespoons water
- 1/2 teaspoon cream of tartar
- 2 1/2 tablespoons meringue powder
- 1 teaspoon pure vanilla extract
-
For decorating:
- 4 1/2 graham crackers
- Rolling pin
- Green food gel
- Ziploc bag
- Large red gum balls
- Red sixlets
- Decorating bags
- Coupler
- Decorating tips #3 and #352
Instructions
For the gingerbread cookies:
Step 1
In medium bowl, whisk together flour, salt, baking soda, ginger, cloves, cinnamon, and nutmeg; set aside.Step 2
In bowl of stand mixer, cream butter and sugar until light and creamy. Add eggs one at a time beating well after each addition. Add molasses and vanilla extract and mix well. Gradually add flour mixture one cup at a time and mix until all is combined. Divide dough into three equal parts and wrap in plastic wrap. Refrigerate at least one hour.Step 3
Preheat oven to 350°F. Remove dough from refrigerator and roll out one piece to about ¼-inch thickness. Us deer head cookie cutters to cut out desired shapes; transfer cutouts to parchment-lined baking sheet. Repeat with remaining dough. Bake cookies 6-8 minutes. Remove from oven; let cool on baking sheet 5 minutes; remove to wire rack to cool completely.For the royal icing:
Step 4
Add confectioners’ sugar to bowl of stand mixer. In small bowl, whisk together water, cream of tartar, meringue powder and vanilla extract. With mixer on low speed, add wet ingredients to confectioners’ sugar. Once combined, increase speed to high and beat 3 minutes until mixture is smooth. Divide icing evenly into two airtight containers – these cookies require two different consistencies of royal icing. A thick green icing is needed to outline cookies and decorate, while thinner, “15 Second Icing” is needed to flood cookies.Step 5
In the first container, create “15 Second Icing.” "15 Second Icing" means you can drag the tip of a knife or toothpick through icing about an inch or so deep, and count to 15. The line should disappear when you reach 15. If it is still there, add more water, just a few drops at a time, to make icing thinner. If line disappears before 15 seconds add more powdered sugar to make it thicker.Step 6
In the second container, create the thicker outline icing. Thicker icing should hold a peek on the tip of a knife when you pull it through the icing and lift up. If the icing doesn’t hold a peek, add more confectioners’ sugar.Step 7
Before covering icing with lid, place plastic wrap over icing (plastic wrap should touch top of icing). Cover container with lid.To decorate the cookies:
Step 8
Place graham crackers in resealable bag and smash into little pieces using rolling pin. Place 1 cup graham cracker crumbs in small bowl; add 2-3 drops green food gel color and 1 tablespoon water. Gently mix until graham crackers are green. Remove 1/2 cup crumbs and add additional 1 drop green gel to create two shades of green crumbs.Step 9
If crumbs are moist from water and food gel, place on cookie sheet and let dry overnight, or place crumbs on cookie sheet in 200°F oven for 6 minutes stirring halfway through.Step 10
Once cookies are cool, using a decorating bag fitted with a #3 tip and filled with thicker green royal icing, outline each cooking and let dry about 10 minutes.Step 11
Flood cookie with “15 Second” green royal icing paying careful attention not to over fill.Step 12
Working quickly, sprinkle royal icing with darker green graham cracker crumbs around edges of cookie; fill remainder in with lighter green cracker crumbs. Pick up cookie and gently shake off excess graham crackers.Step 13
Add small amount of icing to nose area; top with large red gum ball. Cover any excess icing with remaining cracker crumbs.Step 14
Use toothpick to clear crumbs away near antler to add holly. Use thicker green icing to pipe three holly leaves with #352 tip (it looks like a “v” at end). Hold it so tips of "v" are horizontal with cookie. Squeeze using gentle pressure and slowly pull bag away from cookie and push it back into leaf icing to give it the wavy look of a holly leaf. Repeat so each leaf will have three wide parts to the leaf. Repeat for remaining two leaves.Step 15
While the icing is wet add 3 red Sixlets for berries. Let cookies dry completely; about 6-12 hours.

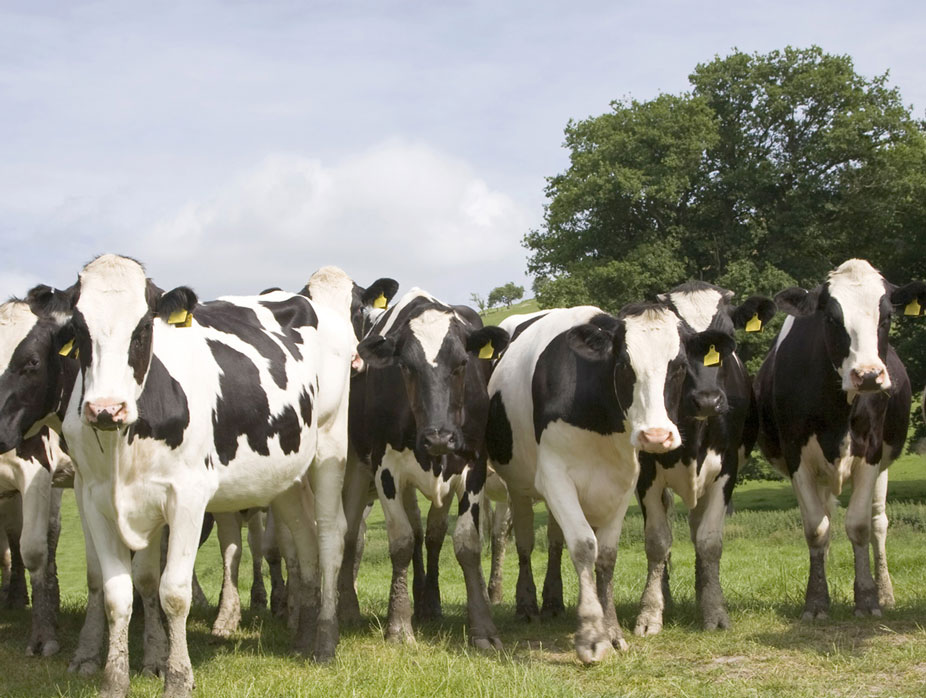
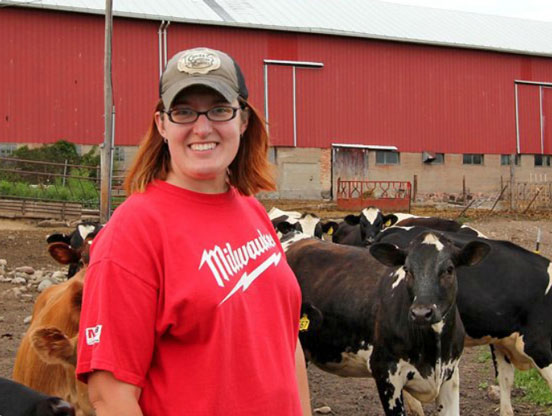
A Dairy Farmer’s Devotion to Feeding Others
Learn how a new farmer, just a decade into her career, approaches her day-to-day and commits herself to helping end hunger.Reviews & Tips
There are no reviews yet for this recipe. Be the first to write a review.
Write a Review