How To Use the Reverse Creaming Method
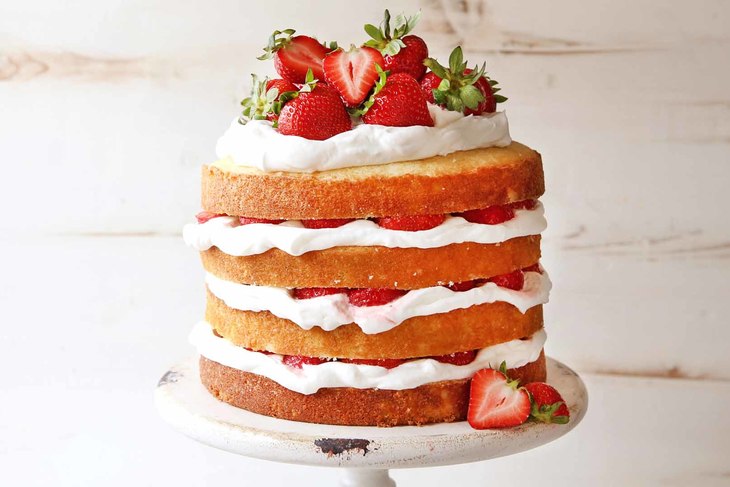
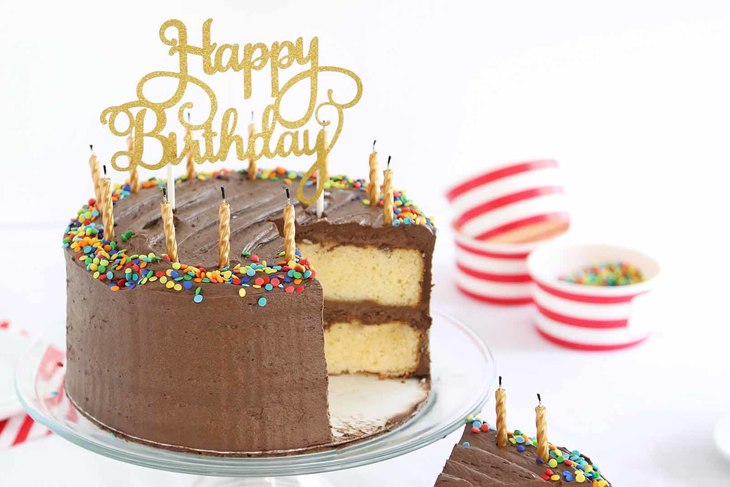
Whether you’re baking a cake for a birthday or just as a sweet treat, creating a perfectly light cake can be challenging. That’s why we rely on the reverse creaming method, which we find more foolproof. Flipping the traditional method on its head, reverse creaming combines all the dry ingredients with butter before adding the liquid ingredients. This produces a flatter, sturdier cake that is ideal for stacking, soaking with syrup or adding a topping, without sacrificing a tender crumb!
Get Started
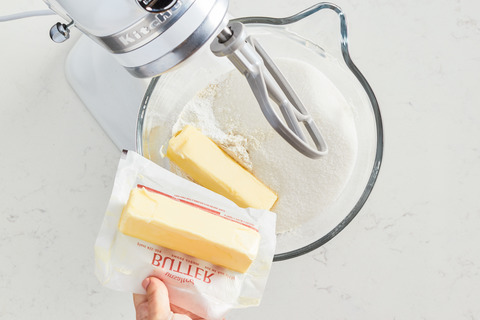
Step One: Combine Dry Ingredients
Combine softened unsalted butter, flour, sugar, baking powder, and salt in a stand mixer or large mixing bowl. Mix until it resembles a sand-like consistency.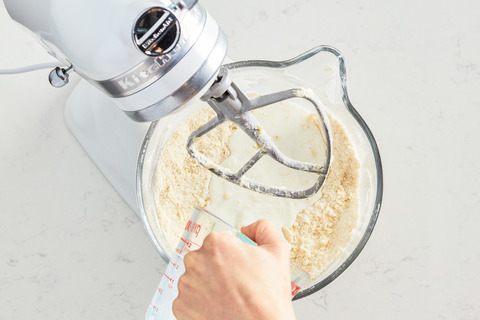
Step Two: Now Add Liquid Ingredients
Add milk and vanilla extract to the combined mixture. Mix until combined and then increase speed to medium for an additional 30 seconds. The formation of gluten starts once flour comes in contact with liquid, so coating the flour with butter first helps slow down this process. This results in a sturdier cake, meaning it’s nearly impossible to overwork your batter.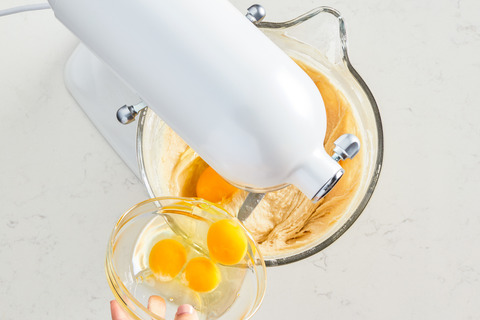
Step Three: Add Eggs
Add eggs one at a time, beating after each addition. Once all eggs are incorporated, beat an additional minute. The batter should look smooth, silky, and light yellow – though it may be thicker than a traditional cake batter.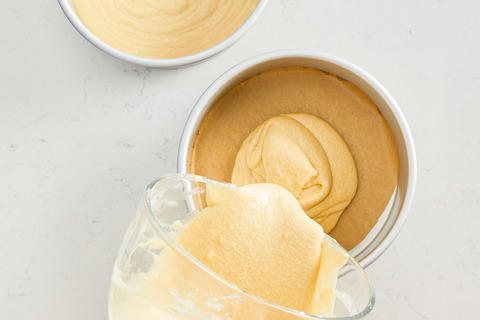
Step Four: Bake!
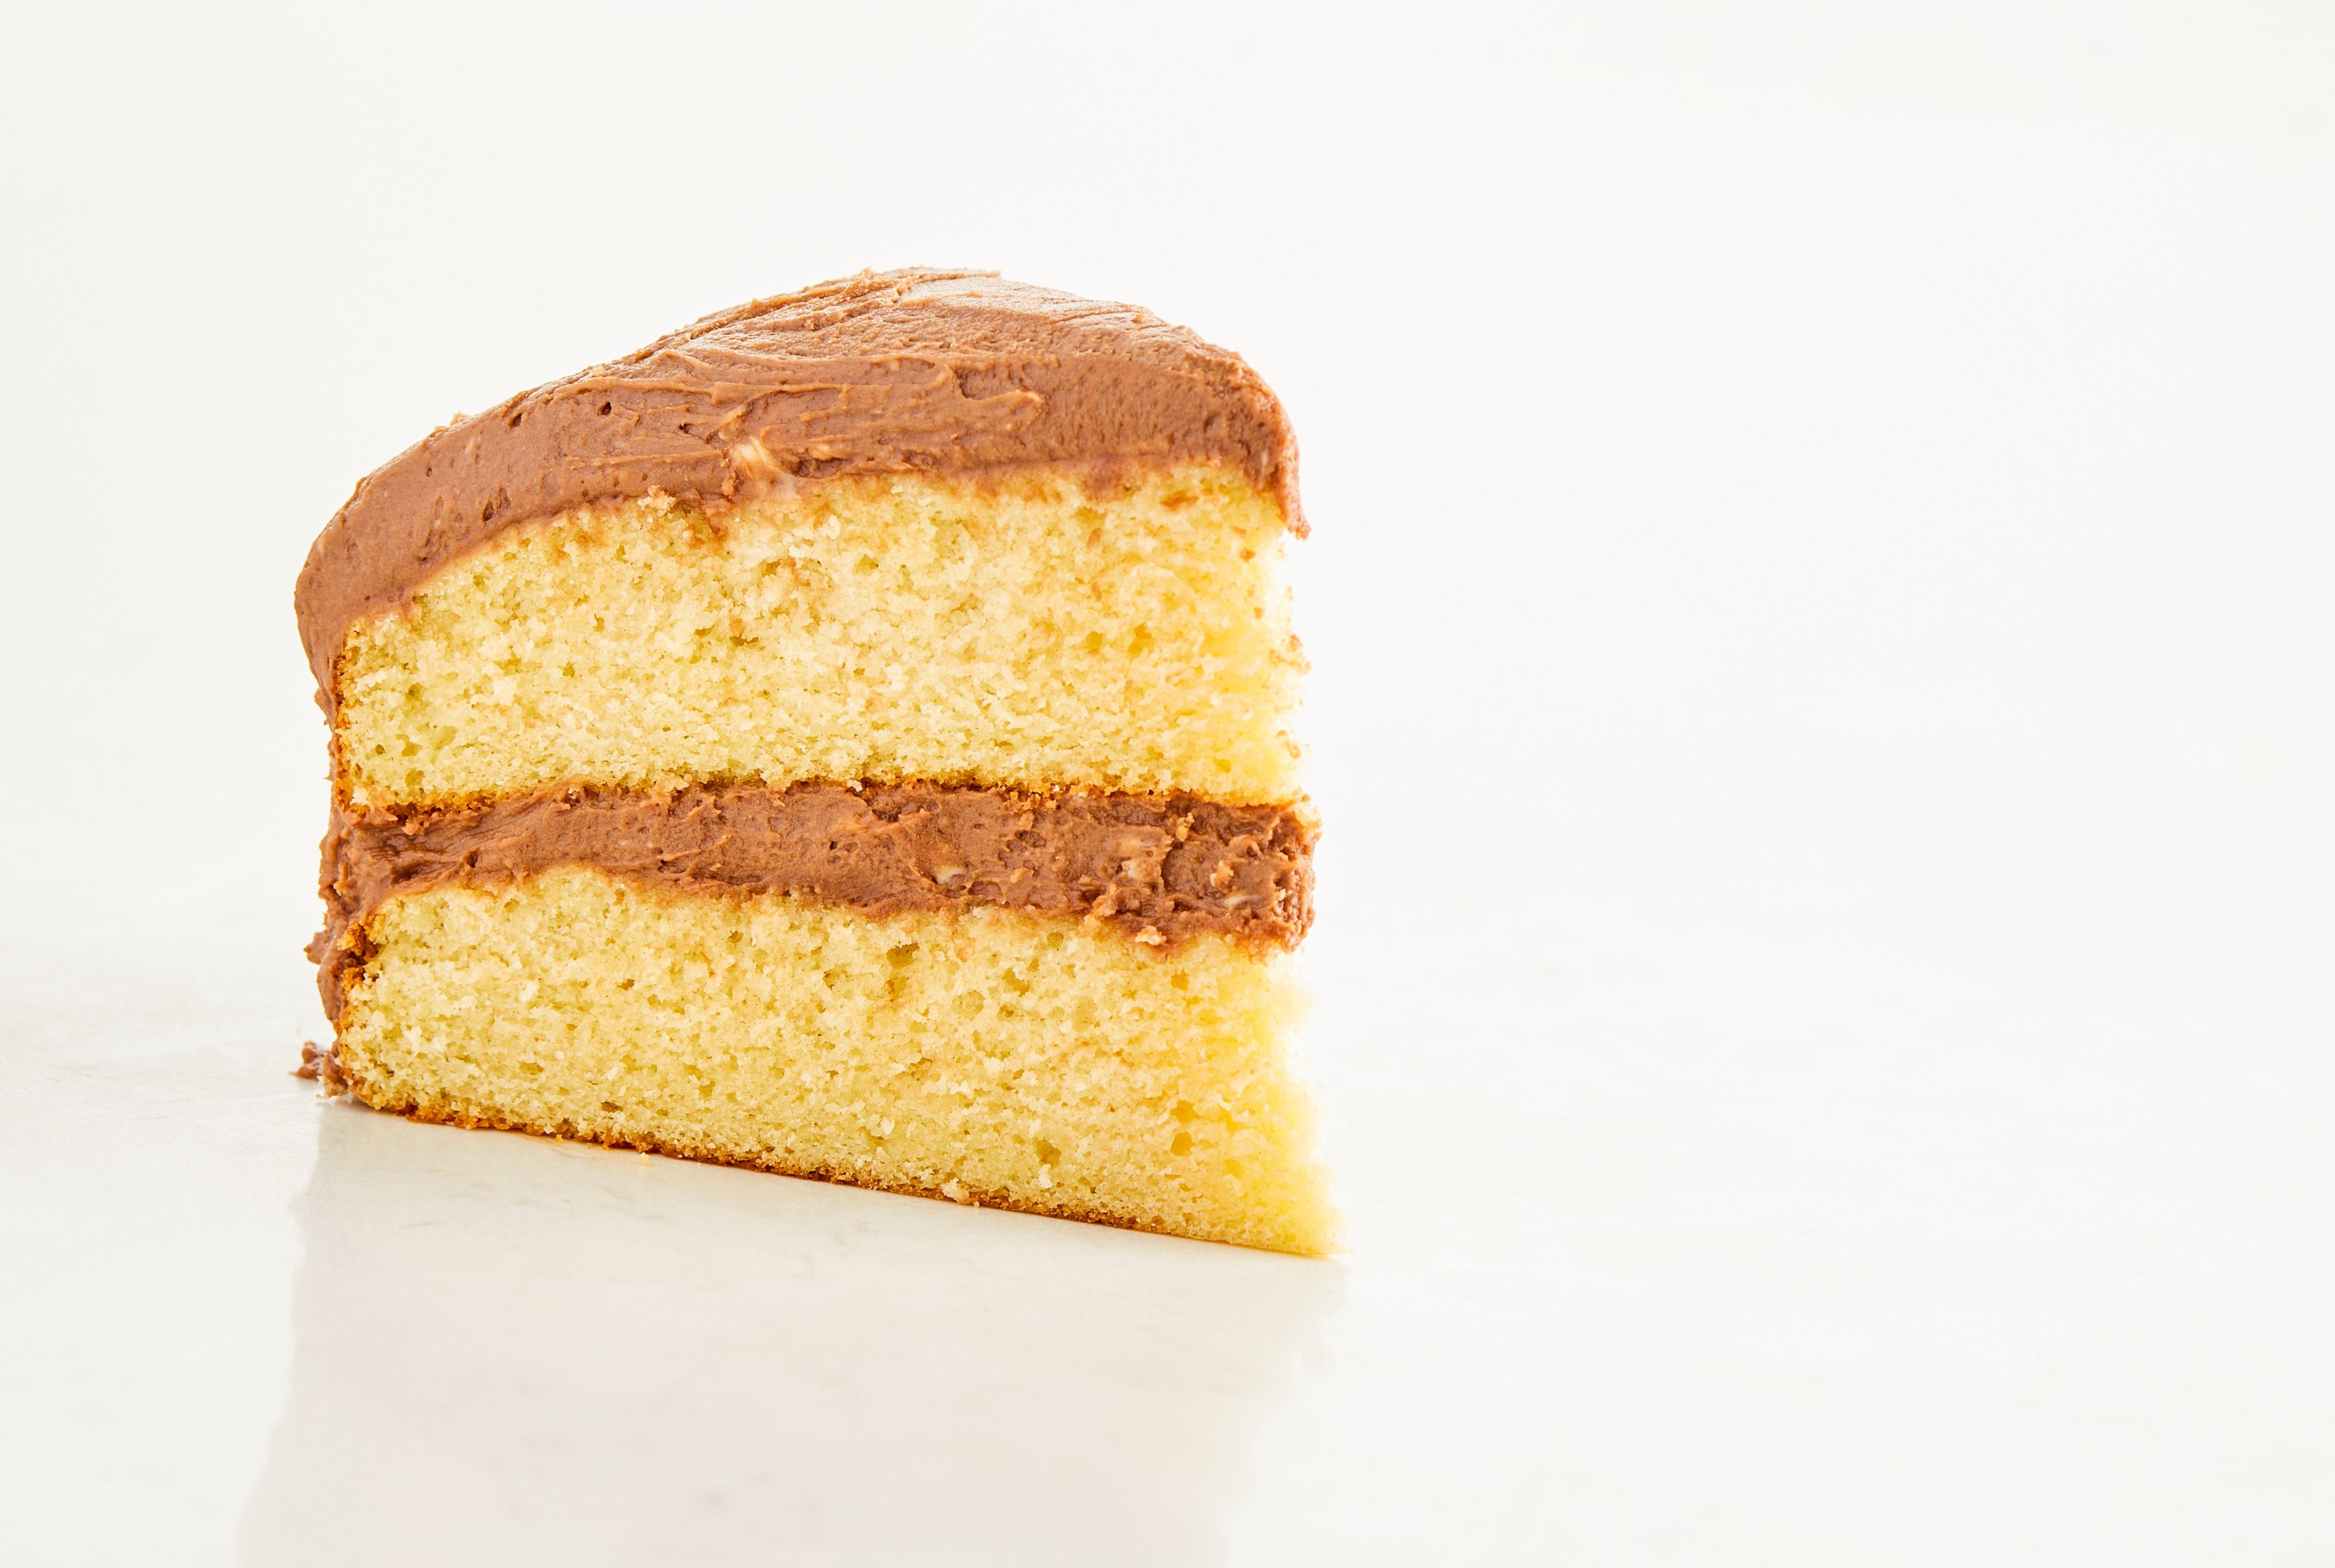
Pour your mixture into a baking dish of your choice and bake until finished! The result should be a flatter, sturdier cake with a tender and light crumb. Cool for 5 minutes and then turn onto a rack to cool completely. Top with frosting, syrup, or other desired decoration. You can find our secret to making delicious buttercream made with real butter here.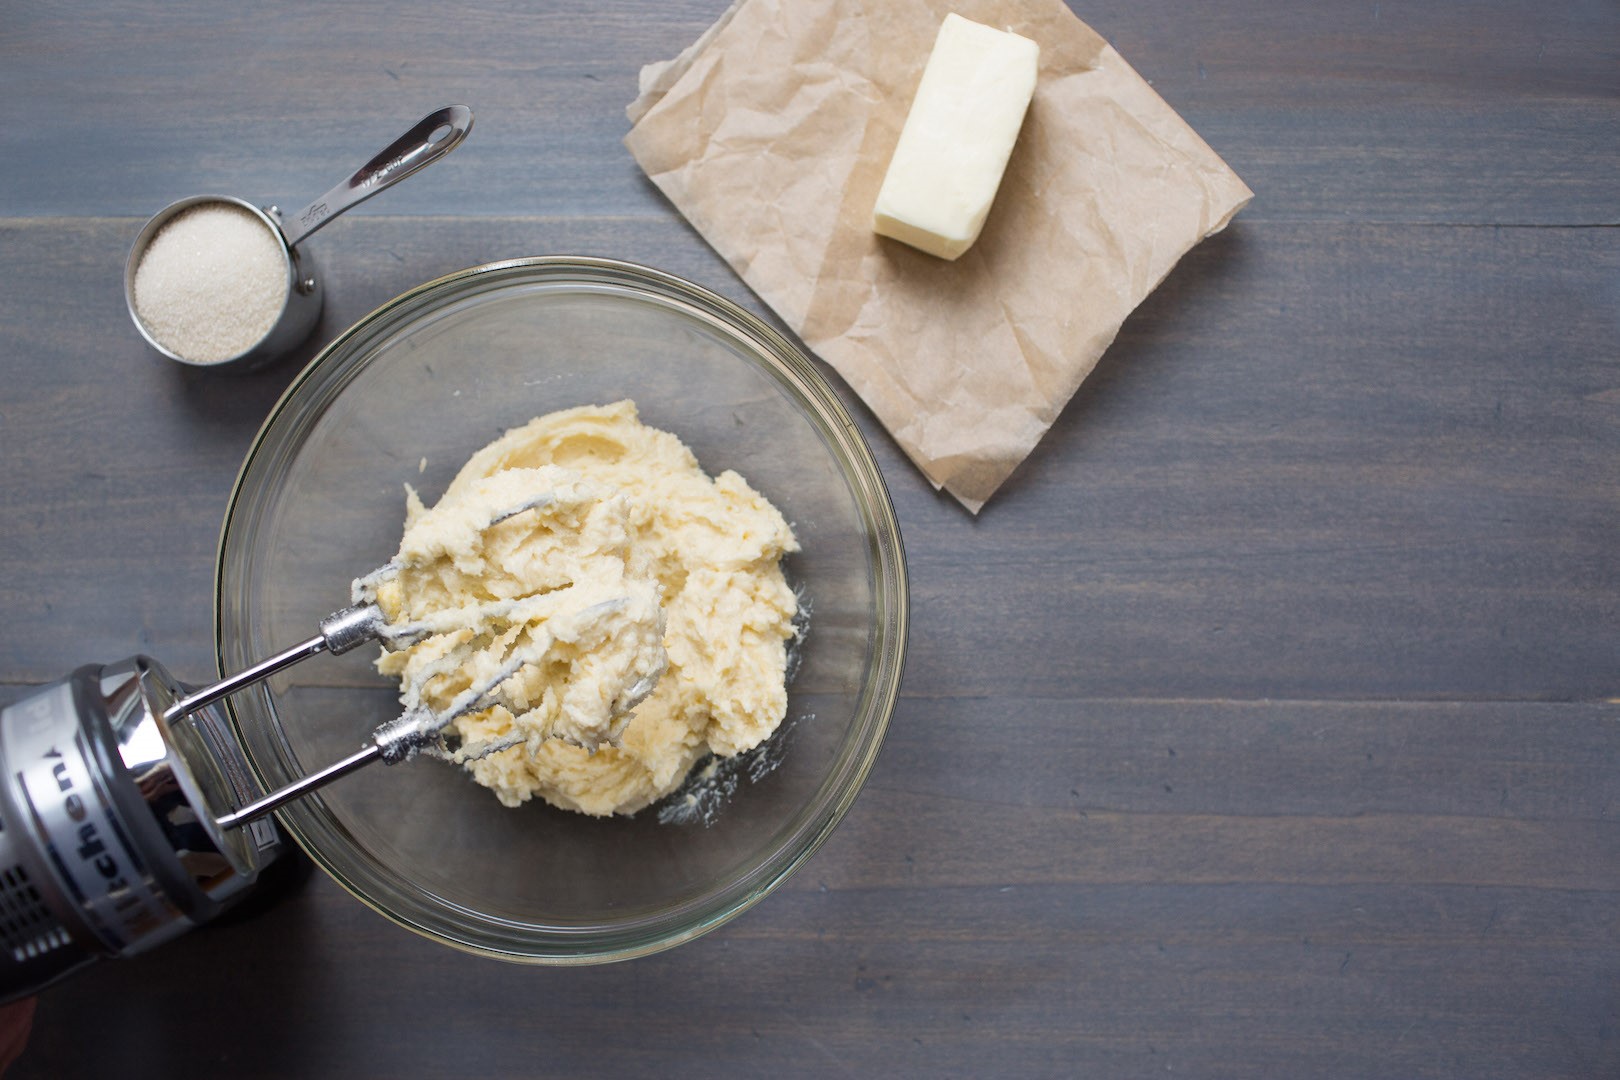

.jpg?ext=.jpg)
.jpg?ext=.jpg)
Austin Allred on Family Values and Sustainability
Learn how a young farmer incorporates family life and sustainable innovations into dairy farming.Reviews & Tips
There are no reviews yet for this how-to. Be the first to write a review.
Write a Review