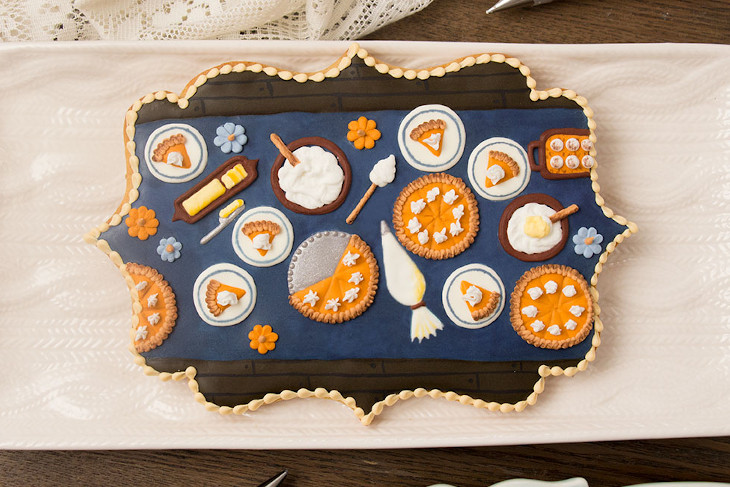
Thanksgiving Dessert Table Cookie
Thanksgiving isn't complete without a dessert table! SweetAmbs shows us how to make a cute cookie using real butter.
1 hr Prep Time
10 min Cook Time
- Prep Time: 1 hr
- Cook Time: 10 min
Ingredients
-
Supplies
- 1 batch sugar cookies
- 1 batch royal icing
- Plaque cookie template
- Food coloring
- 15-second count royal icing in navy blue, brown, gray, and ivory. (Test the consistency by taking a spoonful of icing out of the bowl and dropping it back in. It should take about 15 seconds for the icing to be completely smooth)
- Soft peak royal icing in red, orange, and pale yellow
- Stiff peak royal icing in dusty blue, light brown, white, and beige
- 12” decorating bags
- Decorating tip numbers 1, 2, 3, and 16
- Scriber needle or toothpick
- Edible dust for painting in silver, black, brown, dusty blue, and white
- Vodka or any flavor extract to mix with food coloring to use as paint
- Decorator brushes
-
Food Coloring Combinations
- Navy Blue = 6 parts navy blue, 1 part black
- Brown = 3 parts brown, 1 part black
- Ivory = a touch of golden yellow, a touch of brown
- Red = 4 parts red, 1 part black
- Orange = 4 parts orange, 1 part black
- Pale Yellow = a touch of golden yellow
- Gray = a touch of black
- Dusty Blue = navy blue
- Light Brown = brown, a touch of golden yellow
- Beige = a small amount of Light Brown icing from above mixed with white icing
Instructions
Step 1
From a chilled sheet of cookie dough using the plaque cookie template as a guide, cut around the plaque with the paring knife. Bake and cool the cookie according to the recipe instructions.Step 2
Ice the top and bottom of the cookie brown 15-second count royal icing and a decorating tip 3. Use the scribe tool to help shape the icing.Step 3
Fill in the middle of the cookie with navy blue flood consistency royal icing and a decorating tip 3. Use the scribe tool to help shape the icing. Allow the icing to dry completely (overnight is best).Step 4
Use the scribe tool to draw where the dessert plates, butter dish, pies, piping bag, bowls, and pumpkins will be.Step 5
Ice the dessert plates and piping bag with ivory 15-second count royal icing and a decorating tip 1. Use the scribe tool to help shape the icing.Step 6
Ice the pie plate, butter knife, and piping tip on the piping bag with gray 15-second count royal icing and a decorating tip 1. Use the scribe tool to help shape the icing.Step 7
Ice the butter dish and outline the bowls and baking dish with red soft peak royal icing and a decorating tip 1. Use the scribe tool to help shape the icing.Step 8
Ice every other slice of pie in the pie plates and the sweet potatoes with orange soft peak royal icing and a decorating tip 1. Use the scribe tool to help shape the icing.Step 9
Outline the butter dish with red soft peak royal icing and a decorating tip 1. Use the scribe tool to help shape the icing.Step 10
Fill in the bowls with white stiff consistency royal icing and a decorating tip 3. Swirl the tip around as you’re piping to texture the icing.Step 11
Fill in the remaining slices of pie with orange soft peak royal icing and a decorating tip 1. Use the scribe tool to help shape the icing.Step 12
Pipe the spatula and spoon handles with light brown stiff consistency royal icing and a decorating tip 1.Step 13
Use the ivory 15-second count royal icing and decorating tip 1 to ice the rubber spatula.Step 14
Pipe marshmallows on the sweet potatoes with white stiff consistency royal icing and a decorating tip 3. Allow the icing to dry for about an hour.Step 15
Pipe a slice of pie on each dessert plate with orange soft peak royal icing and a decorating tip 1. Use the scribe tool to help shape the icing.Step 16
Pipe butter in the butter dish with pale yellow 15-second count royal icing and a decorating tip 1. Use the scribe tool to help shape the icing. Add a little bit to the edge of the butter knife.Step 17
Pipe melted butter on the bowl of mashed potatoes with pale yellow 15-second count royal icing and a decorating tip 1.Step 18
Pipe the pie crust with light brown stiff consistency royal icing and a decorating tip 1.Step 19
Use the scribe tool to draw circles where the pumpkins will be. Fill in the circle with tear drop shapes using the orange and dusty blue stiff consistency royal icing. Pipe a stem with light brown stiff consistency royal icing and a decorating tip 1.Step 20
Pipe a swirl of white stiff consistency royal icing on each slice of pie with a tip 16. Allow the icing to dry for another hour.Step 21
Paint a line on each dessert plate with a mixture of dusty blue and black edible dust combined with vodka. Paint the edge of the pie crust with a mixture of brown edible dust and vodka.Step 22
Add shading to the butter and the piping bag with a mixture of golden yellow food coloring and vodka.Step 23
Paint the pie plate, the butter knife, and the decorating tip on the piping bag with silver edible dust mixed with vodka.Step 24
Paint the wooden planks with a mixture of black edible dust and vodka.Step 25
Pipe a border around the edge of the cookie with beige stiff consistency royal icing and a decorating tip 3.
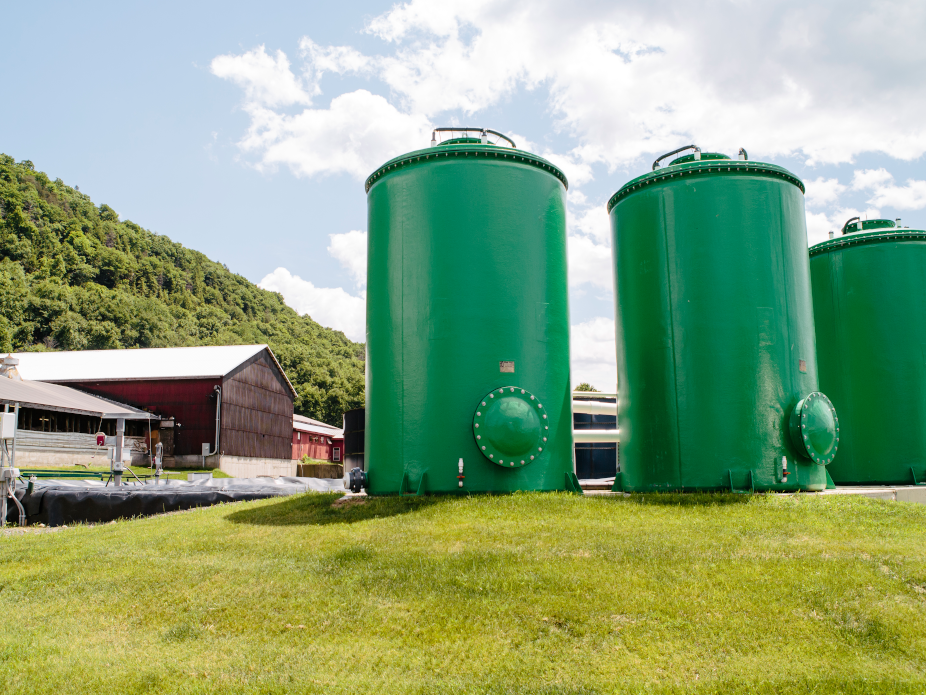
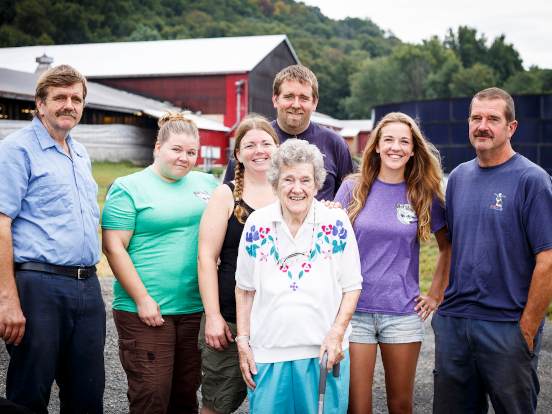
Barstow Family Revolutionizes Recycled Food Waste
Learn how farmer Steven Barstow and his family partner with local grocers to combat food waste and fuel their community.Reviews & Tips
There are no reviews yet for this recipe. Be the first to write a review.
Write a Review